How to change sensors for testo 340 and testo 350 flue gas analyzers?
 These two flue gas analyzers offer the option to change the pre-calibrated testo sensors yourself.
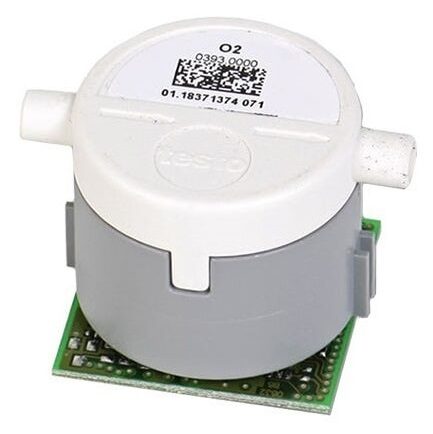
We offer you the testo o2 oxygen sensor - 0393 0000 which you can buy from our online store.
Actually the process is very simple and straightforward.
Although here we are showing you how to change the CO sensor, it's very similar to changing an o2 sensor.
Here's how to change the CO sensor step by step:
1.) Switch off the 340 or 350 by testo.
2.) Unplug from the main supply.
3.) Loosen the two screws from the back of the device. Remove the service lid.
4.) To replace a sensor, the hoses must be disconnected from the sensor. Pull out upwards the sensor.
5.) Replace the old sensor with the new one. The new filter needs to be replaced with the old.
6.) Remember - don't touch the sensor electronics or bottom of it. The pins on the bottom ensure that everything is connected correctly.
7.) Then plug back in the sensor for testo 340 or 350. Reconnect the hoses.
8.) Place back on the service cover and tighten the two screws.
That's all.
When you've done the 8 steps previously, then the testo 340 or 350 can be used immediately.
Here's a quick video showing how to change CO sensor for Testo 340.
https://www.testo.com/en-VN/videos/video-application-emission-sensor-replacement
Ready to change yourself the o2 oxygen sensor?
It's easy.
0393 0000 can be purchased from our online shop.
To do that, go to this link.
Buy 0393 0000 replacement o2 sensor.
Happy measuring!
Good day!